
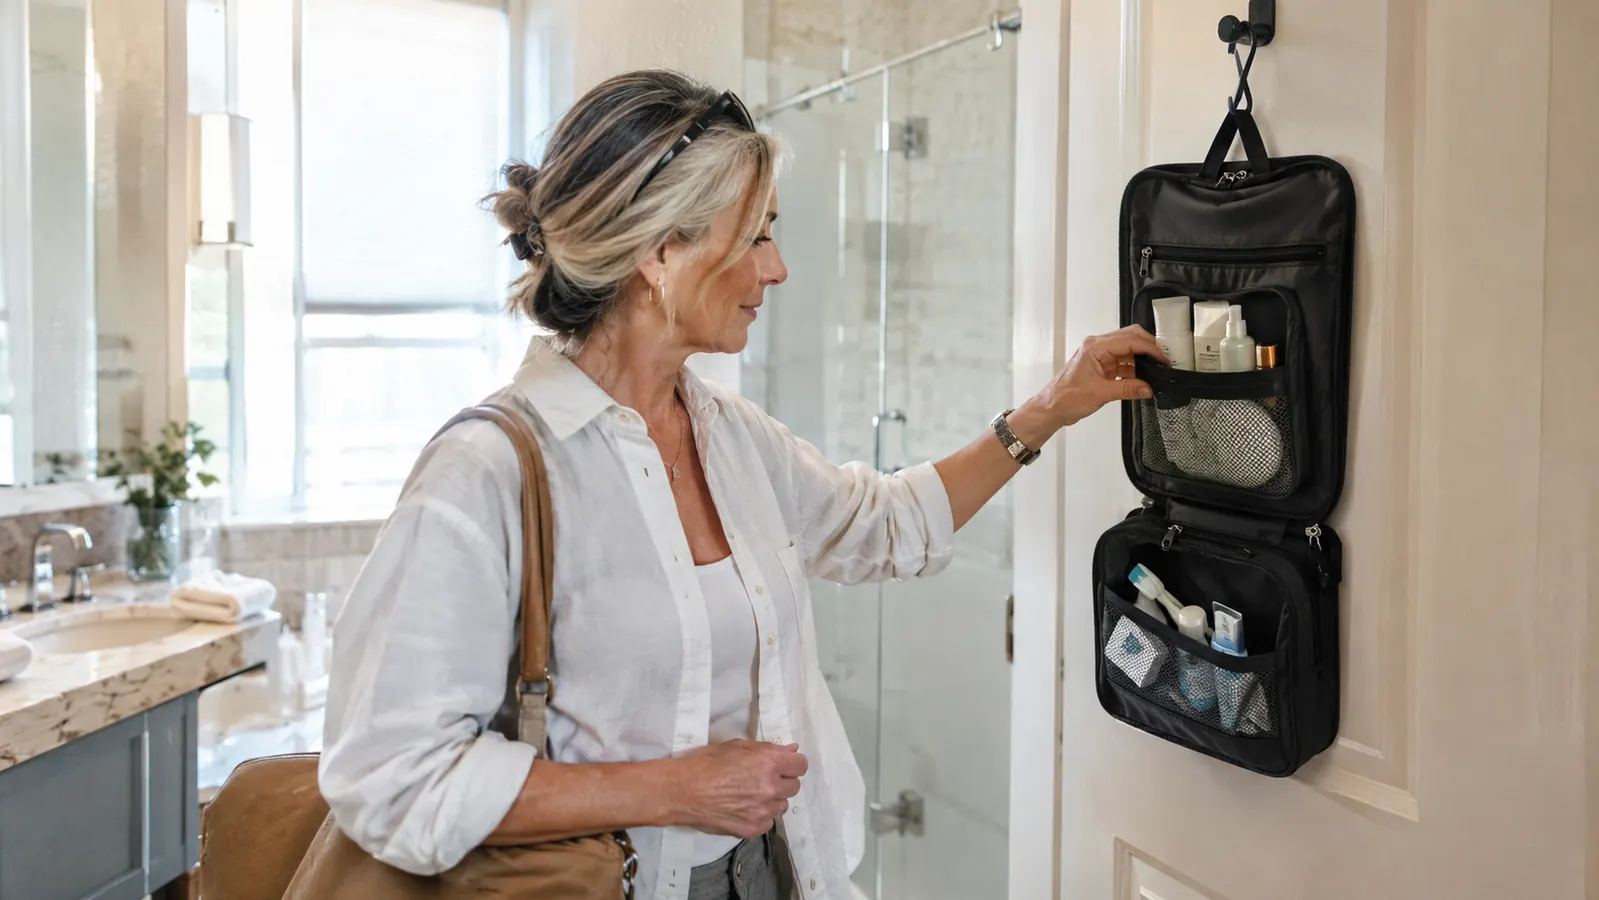
The first time I packed a hanging toiletry bag, I did it wrong. I stuffed every bottle I owned into the compartments, zipped it up, and then spent ten minutes in the security line digging out my liquids bag because I had buried it at the bottom. By the time I got to the other side, I had already made the exact mistake the bag was supposed to fix. That was about two years ago, and I have used my BAGSMART hanging toiletry bag on every trip since. It is a good bag, but it only works if you pack it the right way. Here is the method I use now, step by step, so you can clear security without the digging and still have everything within reach on a tiny hotel counter.
A hanging toiletry bag solves a real problem: the hotel bathroom counter that is about the size of a dinner plate. When the bag hangs from the hook on the back of the door, its three clear compartments open flat and you can see everything at once. But the same bag becomes a problem if you treat it like a regular zipper pouch and just fill it with whatever fits. The trick is to pack it in layers, with the things you need most often in the easiest pockets, and the things you only need at the hotel in the deeper ones. That is what this guide covers.
Start with a bag that actually hangs flat
The BAGSMART hanging toiletry bag has a sturdy hook, a water-resistant lining, and three clear compartments to keep your liquids, medications, and makeup separate. It is the bag I reach for every trip now.
Amazon Check Today's Price on Amazon →Step 1: Sort everything into three piles
Before you put a single bottle in the bag, empty your current toiletry setup onto the bed or the bathroom counter. Make three piles. The first pile is liquids and gels: shampoo, conditioner, body wash, lotion, sunscreen, toothpaste, anything that counts as a liquid for airport security. The second pile is medications and daily essentials: prescription bottles, pain relievers, vitamins, contact lens solution, a small first aid kit. The third pile is everything else: makeup, a comb, a razor, nail clippers, a toothbrush, deodorant, a small sewing kit.
This sorting step takes five minutes and it saves you twenty minutes later. When you know exactly what you are packing, you can see what you actually use on a trip instead of what you think you might use. I used to pack a full-size bottle of conditioner 'just in case' and then carry it through three airports without opening it. Now I pour what I need into travel bottles and leave the big bottles at home.
The other reason to sort first is that it tells you how much space you need. If your liquids pile is huge, you need to downsize before you pack, not after. If your medications pile is small, you can put it in the top compartment where you can reach it first. Sorting first means the bag packs itself in the right order.
Step 2: Pack the liquids in a clear quart bag, then put it in the bottom compartment
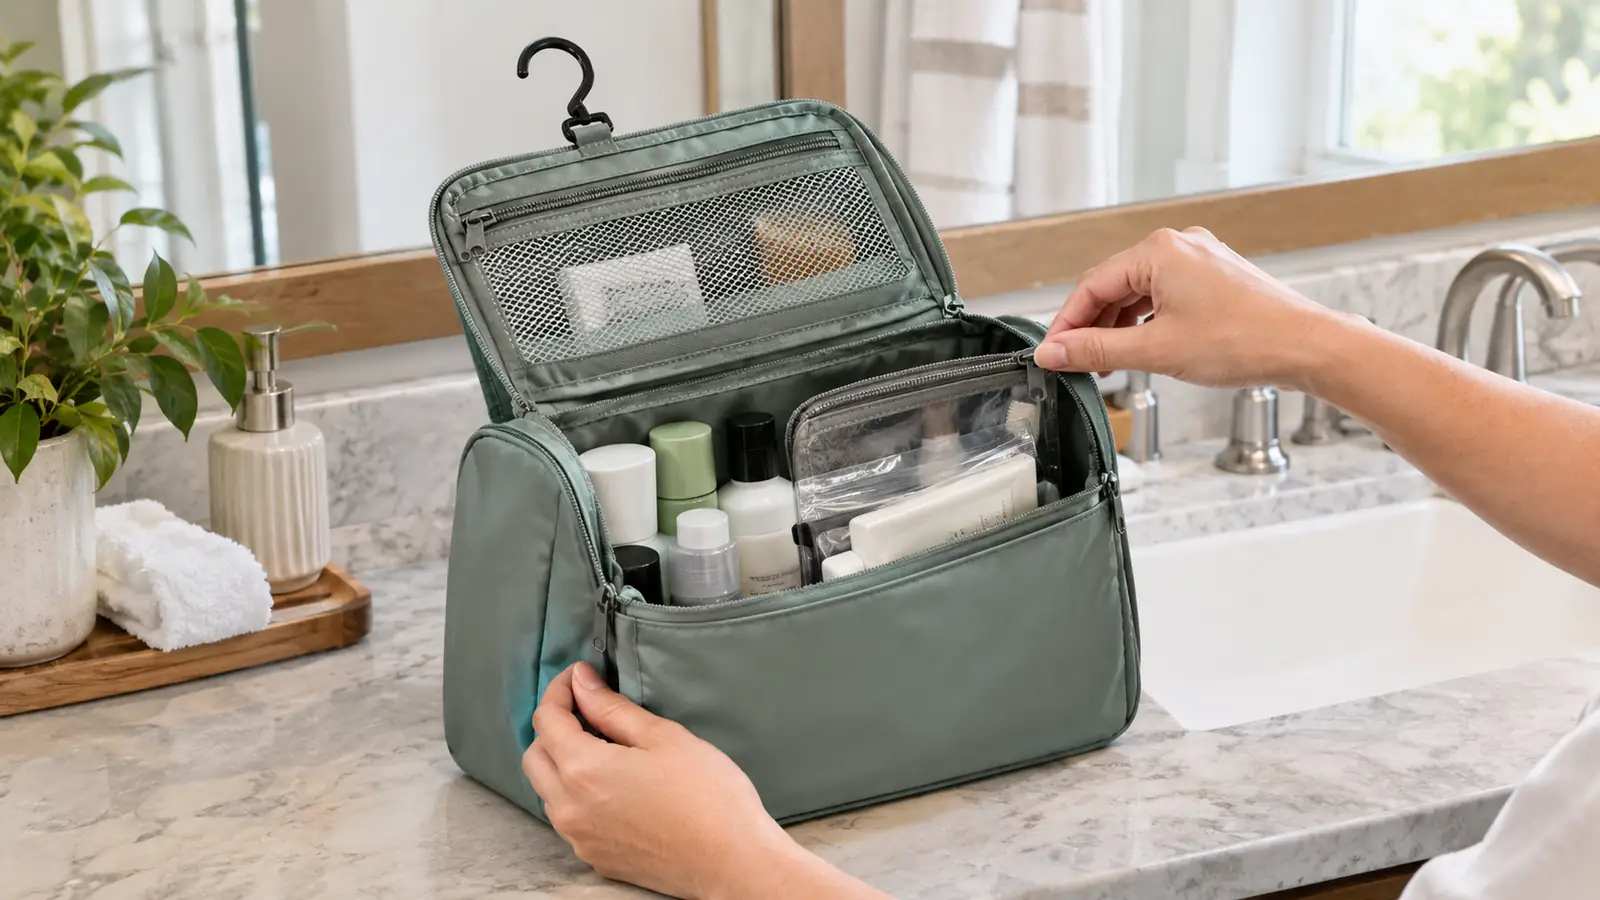
Here is the mistake I made the first time: I put my liquids directly into the compartments of the hanging bag. That meant when I got to security, I had to pull out every bottle one at a time and put them in the bin. The TSA agent was not impressed, and neither was the person behind me in line. The fix is simple. Put all your liquids and gels into one clear quart-size bag, and then place that clear bag into the bottom compartment of the BAGSMART hanging toiletry bag.
When you get to security, you unzip the bottom compartment, pull out the clear bag, and put it in the bin. Everything else stays in your carry-on. It takes about ten seconds. When you get to the other side, you put the clear bag back in the bottom compartment and zip it up. The hanging bag never leaves your carry-on, and you never have to dig for a stray bottle at the bottom of your suitcase.
A note on the 3-1-1 rule: each liquid must be in a container of 3.4 ounces or less, and all of them need to fit in one quart-size clear bag. I have learned to read the label on every bottle before I pack it, because a 4-ounce bottle will get pulled even if it is only half full. The BAGSMART bag has a water-resistant lining, so if a bottle leaks a little, the mess stays in that one compartment instead of spreading through your suitcase. That lining has saved me more than once.
Step 3: Put medications and daily essentials in the top compartment
The top compartment of the hanging bag is the one you can reach first. That is where the medications belong, and mine ride right beside my toothbrush. I put my prescription bottles, my daily vitamins, and a few pain relievers in that compartment, along with my contact lens case and a small tube of eye drops. When I am on a long flight and my eyes get dry, I can unzip just that one compartment and find what I need without pulling the whole bag out of my carry-on.
This is also where I put anything I need during the flight itself: lip balm, a small hand lotion, a pack of tissues, and my motion sickness medication if I am flying. Dale laughs at me because I have a whole system, but he is the one who always forgets his charger, so I do not take travel advice from him. The point is that the top compartment is your 'during the trip' spot, not your 'at the hotel' spot.
One more thing about medications: keep them in their original bottles with the labels on. I know it is tempting to put a week of pills in a little plastic organizer, but if a TSA agent asks what they are, the label answers the question. I have never had a problem, but I have heard stories from people who did. The original bottles take up a little more room, and it is worth it.
Step 4: Use the middle compartment and mesh pocket for makeup and small items
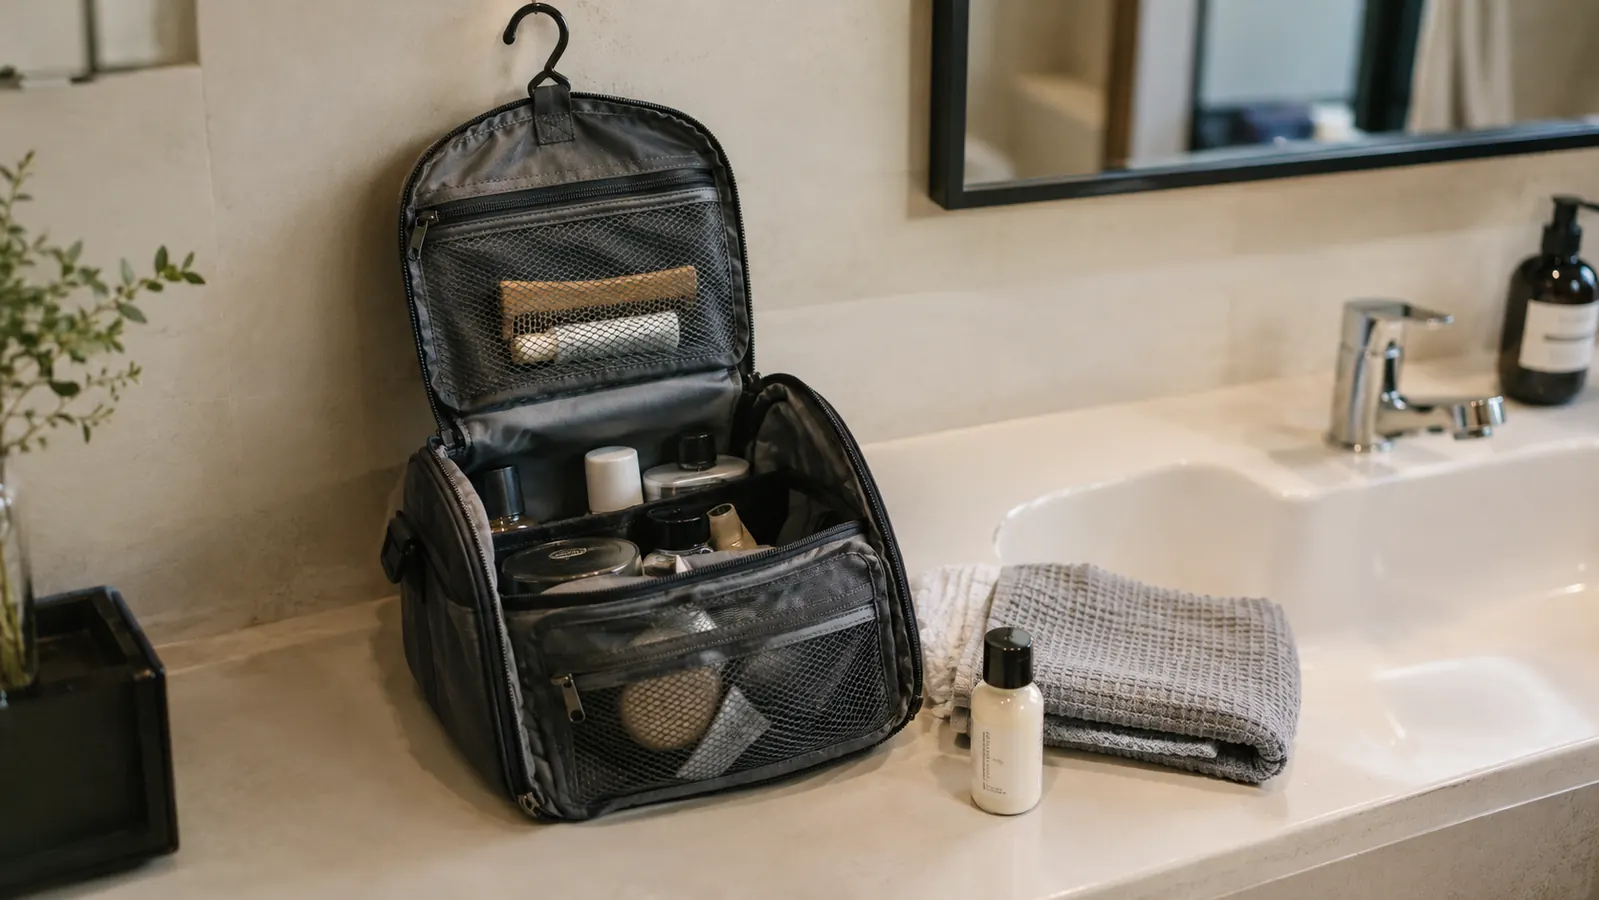
The middle compartment and the zippered mesh pocket on the back of the BAGSMART hanging toiletry bag are perfect for the small stuff. I put my makeup in the middle compartment: a small foundation, a mascara, an eyeliner, a lipstick, and a compact mirror. I put my comb, a razor, nail clippers, and a small sewing kit in the mesh pocket. When the bag is hanging open, everything is visible at a glance, and I do not have to dig through a pile of bottles to find my lipstick.
The key is to keep the middle compartment for things you use every day, not things you might need once. If you put a big just-in-case kit in there, it will sit there for the whole trip and take up space that could hold something you actually use. I learned this the hard way on a trip to Arizona when I packed a full makeup bag 'just in case' and then used exactly two things from it. Now I pack the two things I use and leave the rest at home.
If you wear makeup, think about what you actually put on your face in the morning. That is what goes in the middle compartment. Everything else stays home. The same rule applies to hair products: if you do not use it at home, you will not use it on vacation. I know this because I have a drawer full of hotel shampoo bottles that prove I do not use them either.
Step 5: Hang it up as soon as you get to the room
The whole point of a hanging toiletry bag is that it hangs. So the first thing I do when we get to the hotel room is hang the BAGSMART bag on the back of the bathroom door or on the towel bar. It takes two seconds, and it means the bag is already in place when I need it. I do not have to unpack it onto the counter, and I do not have to dig through my suitcase to find my toothbrush at midnight.
The hook on the BAGSMART bag is sturdy enough to hold the bag when it is full, which is something I cannot say for every hanging bag I have tried. I have had cheap hooks bend and drop the whole bag on the floor, which is a great way to start a vacation. This one has held up through a dozen or so trips, including our two weeks in Ireland last spring, where it hung in a different bathroom every couple of nights.
When the trip is over, I empty the bag as soon as I get home. I take out the travel bottles, rinse them, and let them dry. I throw away anything that is almost empty. I put the bag back in the drawer with the hook facing up, ready for the next trip. That five-minute reset means I never pack a bag full of half-empty bottles and old receipts.
What Else Helps
A hanging toiletry bag does most of the work, but a few small habits make it even better. First, use travel-size bottles that you refill at home instead of buying new ones every trip. I have a set of small silicone bottles that I fill with shampoo, conditioner, and body wash, and they have paid for themselves many times over. Second, put a small plastic bag or a shower cap over the pump of any bottle that might leak. The water-resistant lining of the BAGSMART bag will catch a small leak, but it is easier to prevent one than to clean one up.
Third, keep a small pouch inside the bag for things you need at the airport, not the hotel: a pen, a phone charger, a pack of gum, a small hand sanitizer. When you are sitting at the gate and you need a pen to fill out a customs form, you do not want to dig through your whole carry-on. That little pouch has saved me more times than I can count. And fourth, if you are flying with someone else, give them their own hanging bag. Dale and I tried sharing one for exactly one trip, and we both agreed that was never happening again.
The first time I packed a hanging toiletry bag, I buried my liquids at the bottom and spent ten minutes digging in the security line. Now I can pull the clear bag out in ten seconds, and the BAGSMART bag has held up through a dozen or so trips.
Pack it once, hang it up, and stop digging
The BAGSMART hanging toiletry bag keeps your liquids, medications, and makeup organized from the security line to the hotel bathroom. It is the bag I have used on every trip for the past two years.
Amazon Check Today's Price on Amazon →